Are you tired of the same old vape flavors? If you’ve been vaping for a while, you may have noticed that most commercially available e-liquids start to feel repetitive. At some point, the idea of creating your own vape juice becomes tempting. It’s not only a way to customize your flavors to fit your personal tastes, but it’s also a fun activity you can share with friends or even turn into a group event with fellow vapers. Additionally, making your own e-liquid at home is a great way to save money, especially if you’re an avid vaper who goes through bottles quickly.
Why Make Your Own Vape Juice?
There are several advantages to crafting your own e-liquid. First and foremost, it’s about control. When you make your own vape juice, you have complete control over every ingredient that goes into it. You can tweak the nicotine level, customize the flavor strength, and even experiment with new flavor combinations that aren’t available in stores. Additionally, many vapers find that DIY e-liquids offer a more personalized vaping experience.
Another great reason to try making your own e-liquid is cost savings. Commercially sold vape juices can be expensive, especially if you prefer high-quality brands or unique flavors. By purchasing your own ingredients and mixing them at home, you can create large batches of vape juice for a fraction of the price. It’s a cost-effective way to keep vaping while experimenting with different options.
Before you dive in, though, it’s important to understand the basics of DIY vape juice and the steps involved.
How to Make Your Own Vape Juice at Home
What Are the Basic Ingredients?
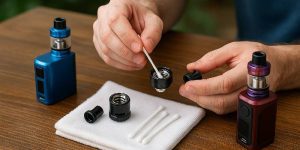
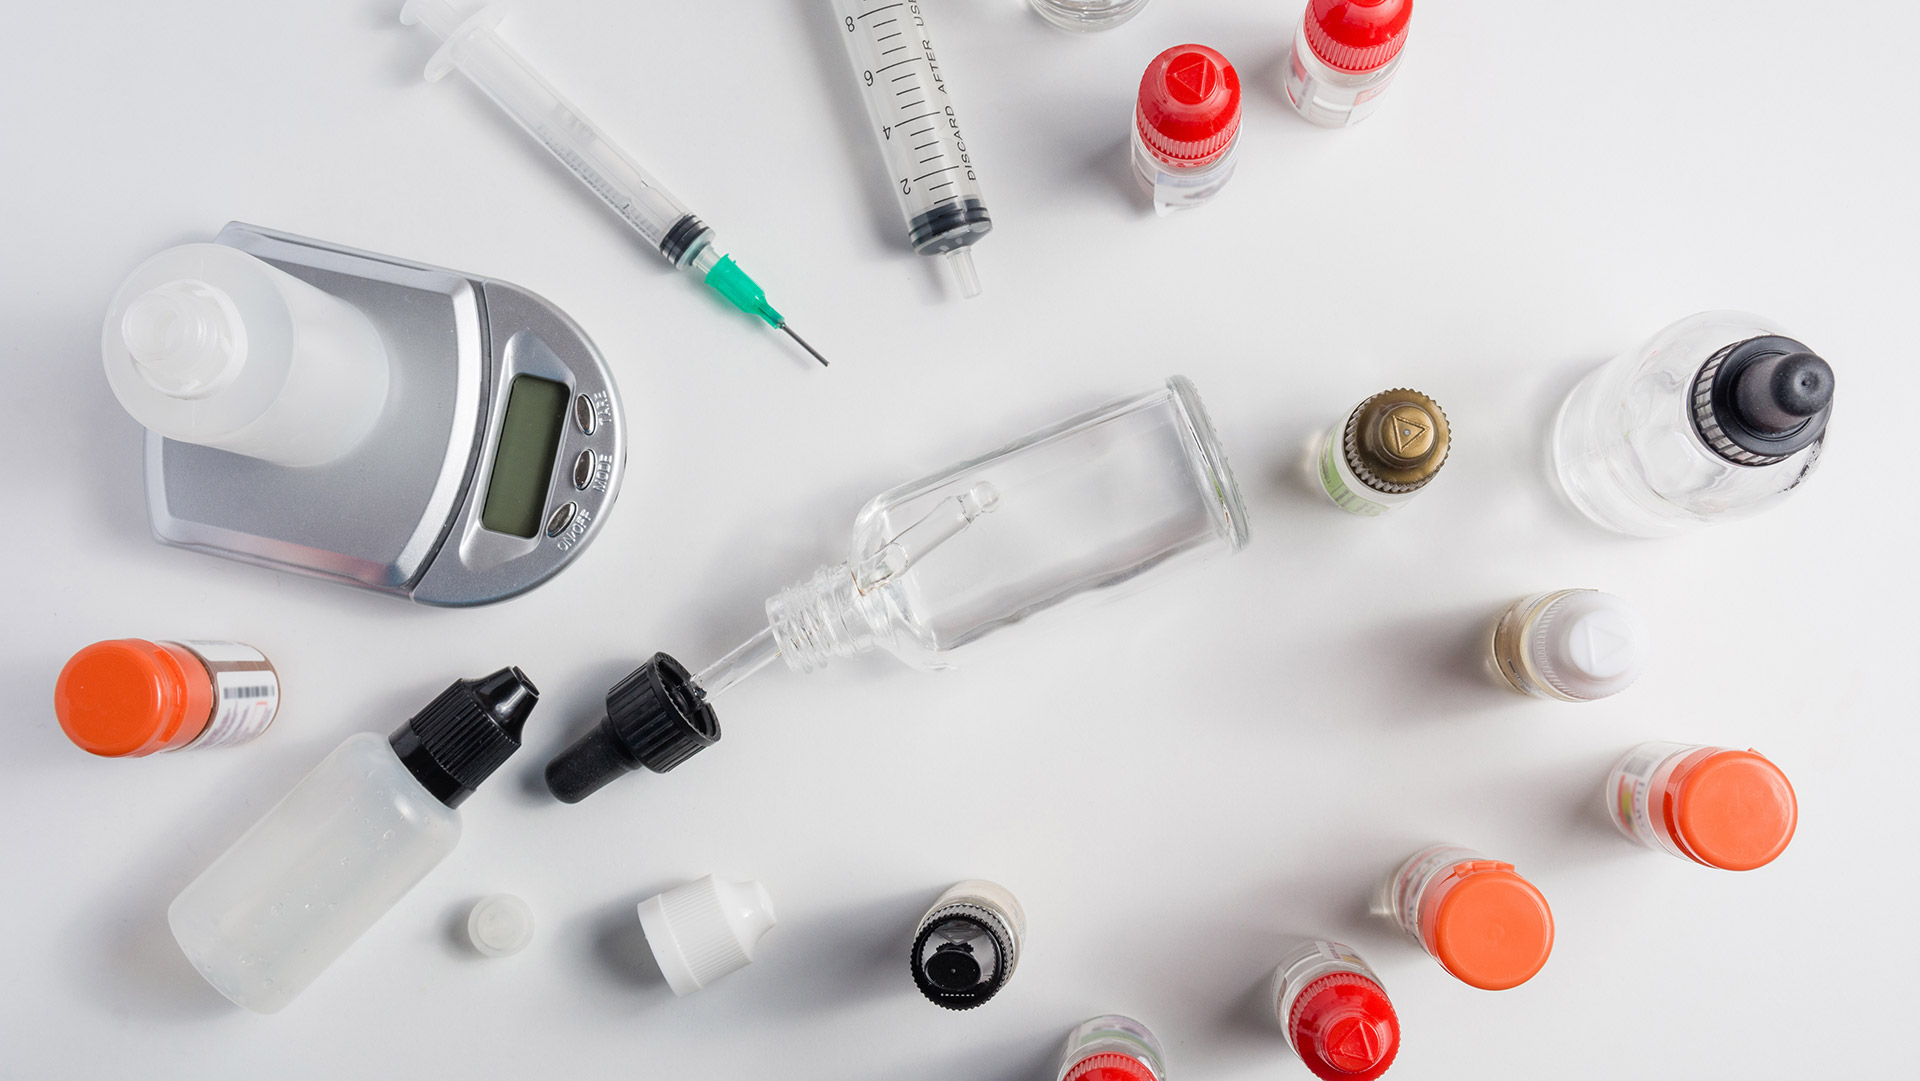
To start making your own vape juice, you’ll need a few essential tools and ingredients. Let’s break down what each one does and why it’s important:
- Plastic Bottles with Caps
The first thing you’ll need are small plastic bottles to store your vape liquid. It’s best to start with inexpensive bottles that are easy to clean. Avoid using large or costly containers, especially when you’re just starting out. This will keep your costs low and make the process more manageable. - Syringes for Precise Measurement
Accuracy is key when making your own e-liquid. To ensure that each ingredient is properly measured, use separate syringes for each component. This will help you avoid cross-contamination between flavors or other ingredients and allow for precise dosing, even in small quantities. - Gloves and Cleaning Supplies
Since you’ll be handling nicotine, it’s crucial to wear gloves. Nicotine is absorbed through the skin and can be harmful if mishandled. It’s also a good idea to have tissues or napkins on hand in case of spills, as even seasoned professionals occasionally make a mess during the preparation process.
The 5 Steps to Making DIY Vape Liquid
Now that you have the necessary supplies, let’s go through the steps to mix your own e-liquid:
- Prepare the Nicotine
The first step is to determine how much nicotine your vape juice will need based on your desired strength. Since nicotine comes in a diluted form, you’ll need to use its milligram strength and the total volume of your e-liquid to calculate how much to add. There are online vape calculators that make this step easier. It’s usually a good idea to start with slightly less nicotine than recommended and adjust the amount after the steeping process.If you’re looking for an extra kick but don’t want to add too much nicotine, you can even include a few drops of vodka to give it a throat hit. Typically, adding 1% to 5% vodka to the mixture is enough.
- Add Your Flavors
This is where creativity comes into play. Flavoring is what makes your vape juice unique, but it can also make or break the final product. If you’re new to DIY vaping, start simple with one or two flavors, and use them sparingly. A general rule of thumb is to keep flavoring at around 10% of your total mix, but you can adjust this as you become more experienced.After steeping, you can always add more flavor if needed, but it’s best to start conservatively so you don’t end up overpowering the mix.
- Mix the Base Liquids (VG/PG)
Your base liquid is a combination of Vegetable Glycerin (VG) and Propylene Glycol (PG). The ratio you choose will depend on your personal preferences. For example, a higher VG content will produce thicker vapor clouds, while more PG will enhance the throat hit and carry flavor better. Typical VG/PG ratios range from 50/50 to 80/20, but feel free to experiment with what works best for you. - Shake and Mix
After adding the nicotine, flavorings, and base liquids, it’s time to mix everything together. Seal the bottle and shake it vigorously to ensure all the ingredients are well combined. Some liquids, especially those with a high VG content, can be quite thick, so it’s important to mix thoroughly. - Let It Steep (Optional)
Steeping allows the flavors in your vape juice to fully develop. While you can vape the mixture immediately, steeping it for a few days in a dark, cool place can improve the taste. If you’re in a rush, you can speed up the process by placing the bottle in warm water for a short period.